Anydraw AI

Best ai image resizer for social and ecommerce

ai image resizer on Anydraw AI combines ratio presets, detail-safe resizing, and fast export controls so teams can publish channel-ready visuals faster.

4.8/5(241)
4-step workflow
Simple workflow
resize image aiaspect ratio tool
ai image resizer example 1
AI Image Resizer sample 1
ai image resizer example 2
ai image resizer example 3

Nano Banana 2 playground

Workspace: ai image resizer

Cost: 1K = 10 credits per image (1k=10, 2k=16, 4k=20).

Prompt, references, model switching, size controls, and export in one panel.

Input

Choose a case to preload the internal recipe. You can then freely adjust the details.

Click to upload or drag and drop. Supports JPEG, PNG, WEBP.

Output

Nano Banana 2 sample image

Practical guide

Best ai image resizer page layout for clarity and speed

Tool-first flow, shorter copy blocks, integrated visuals, and direct CTA. Structured like easy-to-follow feature pages.

resize image aiaspect ratio tool

Visual use cases

ai image resizer example 4

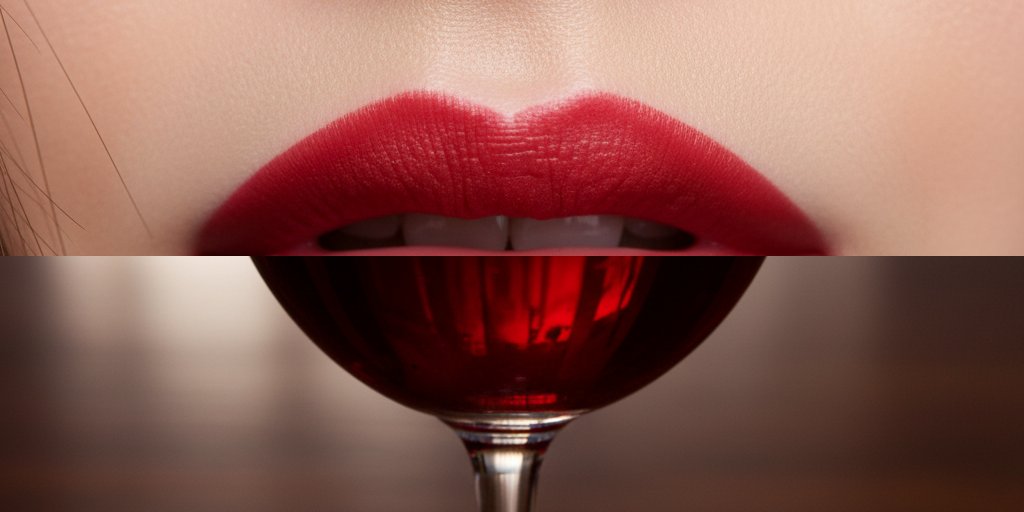
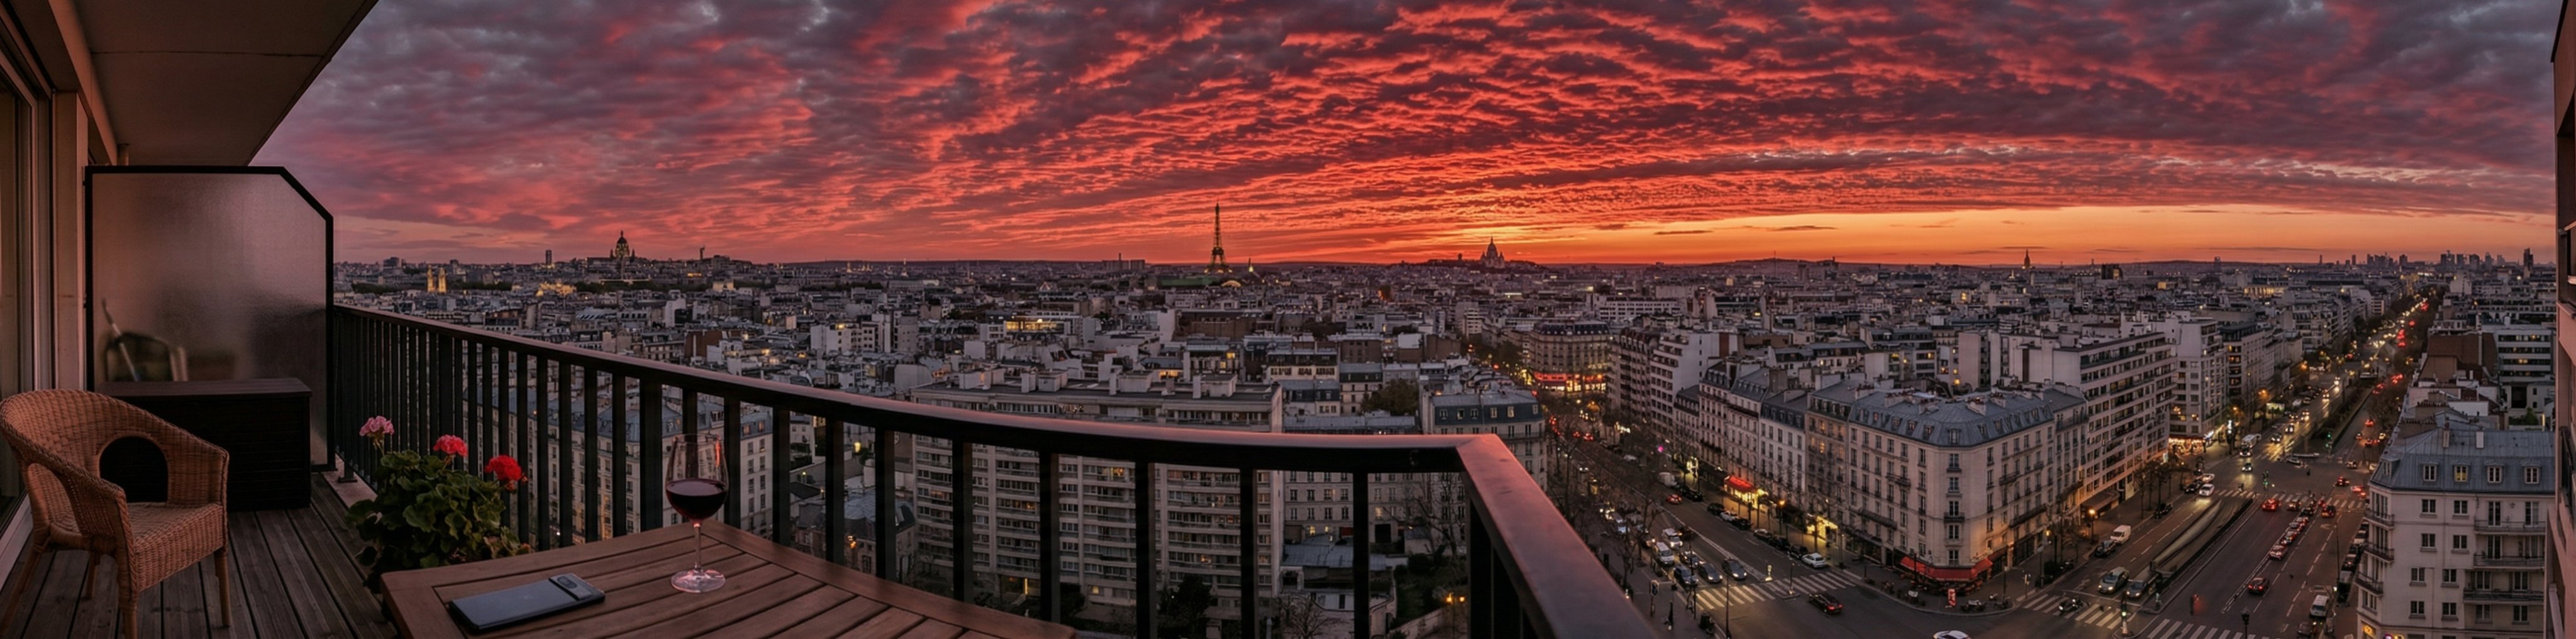
AI Image Resizer sample 4

Switch quickly between 1:1, 4:5, 9:16, 16:9, and custom formats for each channel.

ai image resizer example 5

AI Image Resizer sample 5

Preserve subject shape and edge clarity while reducing stretching and unwanted artifacts.

ai image resizer example 6

AI Image Resizer sample 6

Guide each resize with explicit prompt constraints and optional references for consistent output.

Why choose ai image resizer

Smart ratio presets

Switch quickly between 1:1, 4:5, 9:16, 16:9, and custom formats for each channel.

No-distortion resize workflow

Preserve subject shape and edge clarity while reducing stretching and unwanted artifacts.

Prompt + reference control

Guide each resize with explicit prompt constraints and optional references for consistent output.

Batch-ready export

Generate multi-ratio sets and export quickly for social calendars, listings, and landing pages.

How it works

1

Define channel goals

Set target channels and the ratios required for each placement before generation.

2

Prepare prompt and references

Use a concise prompt with framing constraints and optional reference images.

3

Run ratio variants

Create multiple ratio outputs while preserving key subject details and visual consistency.

4

Review and publish

Apply a pass/fail quality checklist, export winners, and publish to each channel.

Full practical guide

Direct full-length version. Each block covers one use case to keep the page readable and actionable.

ai image resizer example 1

Best ai ai image resizer workflow for conversion-driven pages ai ai image resizer works best when teams treat resizing as a publishing operation, not a final cleanup step. In real campaigns, your original visual rarely matches every placement ratio. Product cards need square crops, social feeds need 4:5, stories need 9:16, and hero banners need wide formats. A practical workflow should preserve composition, keep the subject centered, and avoid blur or stretch artifacts while moving across formats.

On Anydraw AI, you can run prompt, reference, model selection, and output controls in one place. That matters because ratio conversion is not just geometry. You still need style continuity, readable details, and channel-ready exports. Instead of repeating manual edits in multiple tools, this page helps you ship faster with a repeatable process.

ai image resizer example 2

Why teams choose ai ai image resizer for weekly production Most teams lose time after generation, not during generation. You can create great visuals quickly, then spend hours adapting each asset for every channel. ai ai image resizer solves that bottleneck with clear ratio presets and cleaner output handling. Your team can plan once, resize in controlled batches, and release assets without degrading visual quality.

A strong workflow also reduces review friction. When layouts stay consistent across channels, stakeholders approve faster. That means fewer revision loops and better campaign velocity.

ai image resizer example 3

Build a solid input before resizing A reliable result starts with a clear input image and a short objective. Define where the resized image will be used, what subject must stay visible, and how much background can be expanded or cropped. This simple pre-brief prevents random edits and keeps your resizing decisions aligned with business goals.

If your image contains text or logos, mark those areas as protected. If your image is product-led, preserve object shape and edge sharpness first. If your image is lifestyle-led, preserve scene mood and depth first. This priority order helps your output stay useful after ratio changes.

ai image resizer example 4

Prompt patterns that improve first-pass output Prompt quality directly affects resize quality. Good prompts describe the transformation and the constraint in the same sentence. For example, specify target ratio, framing priority, and artifact rules together. Keep your language compact and specific.

Use phrases like keep the subject centered, preserve edge detail, and avoid stretching artifacts. If background expansion is needed, ask for natural continuation with consistent lighting and perspective. You get better first-pass output when the model understands both composition and quality constraints.

ai image resizer example 5

Aspect ratio strategy by channel Different channels reward different framing. For feed content, 4:5 usually maximizes visual area without clipping. For reels and stories, 9:16 is the standard. For marketplace thumbnails, square or near-square framing often performs best. For website headers, wide cinematic ratios can improve perceived polish.

Create a small ratio matrix before production. Map each target channel to one approved ratio and one backup ratio. This avoids ad hoc decisions during delivery and makes your resizing pipeline predictable.

ai image resizer example 6

Quality control checklist before export Before exporting, run a fixed quality checklist. Verify subject geometry, facial proportions, product edges, and text legibility. Then check brightness consistency and background continuity. Finally, inspect output at both thumbnail and zoom levels to catch defects that might hurt trust.

A pass/fail checklist is better than opinion-only review. Teams move faster when quality gates are explicit. You can still keep creative flexibility, but your release criteria should stay stable.

ai image resizer example 1

Batch resizing for campaign speed When campaigns involve many visuals, batch logic is essential. Start with one approved prompt baseline, then apply controlled ratio variants. Keep filenames and output formats standardized so downstream teams can publish immediately.

For ecommerce workflows, generate listing-safe ratios first and social variants second. For content workflows, generate social-first variants first and landing-page crops second. This order usually matches business impact and reduces idle time in launch windows.

ai image resizer example 2

Common failure modes and fast fixes The most common failure is over-cropping the core subject. If that happens, reduce crop aggressiveness and allow limited outpaint continuation. Another frequent issue is soft detail after resizing. Fix it by adjusting quality settings and re-running with stronger clarity constraints.

If text becomes unreadable, reframe before sharpening. Sharpness cannot rescue broken composition. If background expansion looks synthetic, tighten style and lighting instructions in the prompt and keep the continuation scope realistic.

ai image resizer example 3

SEO and publishing alignment A strong resize workflow should also support SEO consistency. Keep alt text aligned with final composition, not with the original source frame. If your image intent changes after resize, update metadata and screenshot references accordingly.

For high-intent pages, consistent visuals improve both user trust and on-page engagement. When visitors see clean, platform-ready examples, they understand value faster. That clarity improves conversion potential.

ai image resizer example 4

Operational template for teams A practical operating template is simple: one owner defines ratio matrix, one owner runs generation and resize, and one owner approves export quality. This role split prevents confusion and keeps handoffs clean.

Store winning prompts and ratio outcomes in a shared library. Over time, your team builds a reusable system instead of restarting from scratch on every campaign. The result is faster execution and more predictable quality across launches.

ai image resizer example 5

Final recommendation Use ai ai image resizer as a standard production step from day one, not as a last-minute fix. Plan channel ratios early, protect key visual elements, and run a repeatable quality gate before export. With this workflow, your team can move from one master visual to a full channel pack quickly while maintaining visual integrity.

If you need reliable multi-channel output, start with the presets on this page, validate with the checklist, and iterate one variable at a time. You will get cleaner assets, faster approvals, and stronger publishing consistency across social, ecommerce, and landing pages.

User Feedback

AI Image Resizer user reviews

Each page uses fixed user avatars and practical workflow feedback.

Noah C. avatar

Noah C.

Content Operator

★★★★★

AI Image Resizer helped us ship channel variants in one afternoon instead of two days.

Ava T. avatar

Ava T.

Performance Designer

★★★★★

We keep one visual direction and still publish multiple aspect ratios with cleaner output quality.

Daniel H. avatar

Daniel H.

Growth Marketer

★★★★★

The prompt + ratio workflow made approvals faster and reduced last-minute asset edits.

ai image resizer FAQ

Short answers before you generate.

ai image resizer is best for adapting one visual into multiple channel ratios while preserving quality and composition.

Create with ai image resizer

Generate, compare, and publish in one practical workflow.